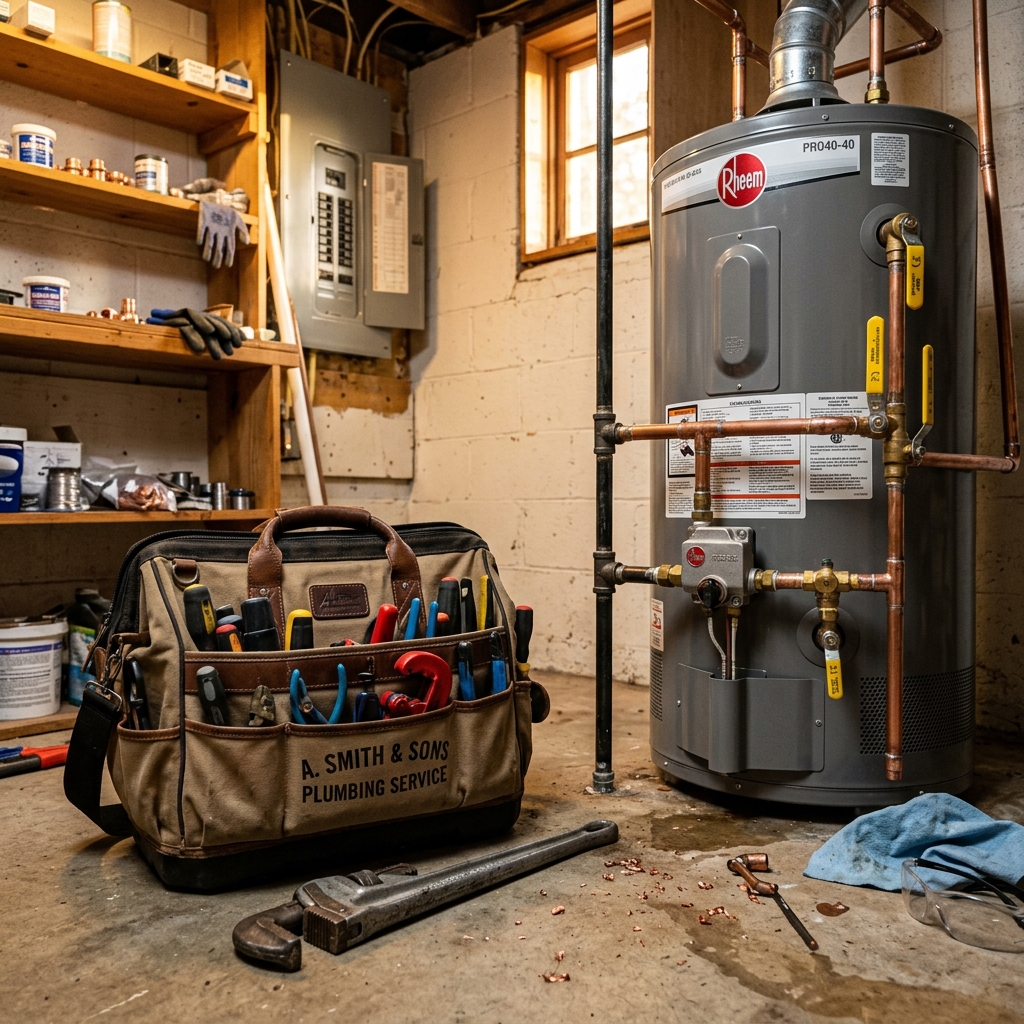
Water Heater Repair: DIY Fixes vs. When to Call a Plumber
No hot water? Leaking tank? Pilot light won't stay lit? A practical guide to which water heater repairs you can DIY safely and which ones need a professional.
Safety Disclaimer
Water heater maintenance involves working with pressurized systems, scalding hot water, and potentially hazardous electrical or gas connections. Always shut off power (electric heaters) or gas supply (gas heaters) and allow water to cool to a safe temperature before beginning any maintenance. Wear appropriate safety equipment including gloves and eye protection. If you're uncomfortable with any step, contact a licensed plumber.
When your water heater stops working, the first question is always the same: can I fix this myself, or do I need to call someone?
The honest answer: about half of common water heater problems are safely DIY-able. The other half involve gas lines, electrical panels, or pressurized tanks, and getting those wrong can cause serious injury or property damage.
This guide covers every common water heater failure mode, tells you exactly what’s wrong, and gives you a clear DIY or Call a Plumber verdict for each one.
Quick Diagnosis Table
| Symptom | Likely Cause | DIY or Pro? | Estimated Cost |
|---|---|---|---|
| No hot water (gas) | Pilot light out | ✅ DIY | Free |
| No hot water (electric) | Tripped breaker / bad element | ⚠️ Depends | $0–$30 DIY / $150–$300 pro |
| Water not hot enough | Thermostat too low | ✅ DIY | Free |
| Water too hot | Thermostat too high | ✅ DIY | Free |
| Leaking from top | Loose fittings / inlet valve | ✅ DIY | $5–$20 |
| Leaking from bottom | Tank corrosion | ❌ Call plumber | Replacement needed |
| Rusty water | Failing anode rod | ✅ DIY | $20–$50 |
| Popping / rumbling noise | Sediment buildup | ✅ DIY | Free (flush it) |
| Rotten egg smell | Bacteria + anode rod reaction | ✅ DIY | $20–$50 |
| Pressure relief valve leaking | High pressure or bad valve | ⚠️ Depends | $15–$30 for valve |
| Tank takes too long to reheat | Undersized / failing element | ❌ Call plumber | $150–$400 |
1. No Hot Water, Gas Water Heater
What’s happening: The pilot light went out. This is the single most common water heater “failure” and it almost never requires a professional.
DIY Fix: Relight the Pilot
- Turn the gas control knob to OFF. Wait 5 minutes for residual gas to dissipate.
- Turn the knob to PILOT.
- Press and hold the knob down (or press the separate pilot button if your model has one).
- While holding the knob, click the igniter button. You should see a small flame through the viewport.
- Continue holding the knob for 60 seconds after the flame appears. This heats the thermocouple.
- Release the knob. The pilot should stay lit.
- Turn the knob to ON and set your desired temperature.
When to Call a Plumber
- If the pilot won’t stay lit after relighting 3 times → bad thermocouple ($8–$15 part, $100–$150 if you hire a plumber)
- If you smell gas at any point → turn off gas supply, open windows, call your gas utility’s emergency line immediately
2. No Hot Water, Electric Water Heater
What’s happening: Either the circuit breaker tripped, a heating element failed, or the thermostat is broken.
DIY Fix: Check the Breaker First
- Go to your electrical panel. Find the breaker labeled “Water Heater” (usually 30A double-pole).
- If it’s tripped (middle position), flip it fully OFF, then back ON.
- Wait 30 minutes. If hot water returns, you’re done.
If the Breaker Keeps Tripping
This indicates a short circuit, either in the heating element or the wiring. Call an electrician or plumber. Do not repeatedly reset a tripping breaker.
DIY Fix: Reset the High-Temperature Limit
Electric water heaters have a red reset button (ECO switch) behind the upper access panel.
- Turn off the breaker first. Never open an electric water heater panel with power on.
- Remove the upper access panel (usually 2 screws).
- Push the red reset button. You’ll feel/hear a click.
- Replace the panel. Turn the breaker back on.
- Wait 1 hour. If hot water returns, you’re done.
When to Call a Plumber
- If the reset button trips again within a day → bad thermostat or heating element ($150–$300 installed)
- If you’re not comfortable working around a 240V panel → always call a professional
3. Leaking Water Heater
Leaks are the #1 reason water heaters get replaced prematurely. But not all leaks mean you need a new tank.
Leaking From the Top
Usually a loose inlet/outlet fitting or a failing pressure relief valve.
DIY Fix:
- Tighten the cold water inlet and hot water outlet fittings with a wrench. ¼ turn is often enough.
- If the leak is from the T&P (temperature and pressure) relief valve, it may be releasing excess pressure. Check your water pressure, if it’s over 80 PSI, install an expansion tank or pressure-reducing valve.
Leaking From the Bottom
This is almost always a corroded tank. The glass lining inside the tank has cracked, and water is seeping through the steel.
Verdict: ❌ Call a plumber. A leaking tank bottom cannot be repaired, the water heater needs to be replaced. In the meantime, turn off the gas/power and the cold water supply valve to stop the leak from worsening.
4. Rusty or Discolored Hot Water
What’s happening: The anode rod, a sacrificial metal rod inside the tank that corrodes so the tank doesn’t, has completely dissolved.
DIY Fix: Replace the Anode Rod
This is one of the highest-value DIY maintenance tasks. A $20–$50 anode rod can extend your water heater’s life by 5+ years.
- Turn off gas/power and the cold water supply.
- Drain 2 gallons from the drain valve at the bottom (to reduce water level below the anode).
- Locate the anode rod hex head on top of the tank (usually ¾” or 1-1/16”).
- Use a 1-1/16” socket with a breaker bar or impact wrench. These are tight, you’ll need use.
- Pull out the old rod. If it’s mostly dissolved (less than ¼” diameter remaining), it needed replacing.
- Insert the new rod. Apply Teflon tape to the threads.
- Tighten firmly but don’t overtighten.
- Refill the tank, turn on gas/power.
Rod types: Magnesium (standard, best for most water), aluminum (for hard water or well water), powered anode (electronic, no corrosion, $100+ but lasts forever).
For our top picks, see Best Powered Anode Rods.
5. Popping, Rumbling, or Banging Noises
What’s happening: Sediment (calcium, lime, mineral deposits) has accumulated at the bottom of the tank. When the burner heats the sediment layer, steam bubbles form and pop, creating the noise.
DIY Fix: Flush the Tank
This is routine maintenance that should be done annually. Follow our complete guide: How to Flush a Water Heater.
Quick version:
- Turn off gas/power.
- Connect a garden hose to the drain valve.
- Open the drain valve and the T&P relief valve (to break the vacuum).
- Let it drain completely.
- Open the cold water inlet briefly to stir up remaining sediment, then drain again.
- Close everything, refill, relight/power on.
6. Rotten Egg Smell in Hot Water
What’s happening: Sulfate-reducing bacteria are reacting with the magnesium anode rod, producing hydrogen sulfide gas (the rotten egg smell). This is more common with well water.
DIY Fix
- Flush the tank with a hydrogen peroxide solution (2 pints of 3% hydrogen peroxide per 40 gallons).
- Replace the magnesium anode rod with an aluminum/zinc anode rod, which doesn’t react with sulfate bacteria.
If the smell persists after both steps, call a plumber, you may need a water treatment system.
7. Temperature & Pressure (T&P) Relief Valve Issues
The T&P valve is a critical safety device. It releases water if the tank pressure or temperature gets dangerously high.
If the T&P Valve Drips Occasionally
This is normal if your home water pressure fluctuates. Check your water pressure with a gauge ($10 at any hardware store), anything over 80 PSI needs a pressure-reducing valve.
If the T&P Valve Leaks Constantly
DIY Fix: Replace the valve ($10–$30 part).
- Turn off gas/power and cold water supply.
- Drain a few gallons to lower the water level below the valve.
- Unscrew the old valve with a pipe wrench.
- Apply Teflon tape to the new valve’s threads. Screw in hand-tight plus ½ turn with wrench.
- Refill. Test by lifting the lever, water should flow through the discharge pipe and stop when released.
⚠️ Never cap or plug a T&P valve. It exists to prevent the tank from becoming a bomb. Seriously.
When to Replace Instead of Repair
| Factor | Repair | Replace |
|---|---|---|
| Age | Under 8 years | Over 10–12 years |
| Leak location | Top fittings | Bottom of tank |
| Repair cost | Under $300 | Over $500 |
| History | First major issue | 2nd or 3rd repair |
| Energy bills | Normal | Rising despite maintenance |
Average replacement cost: $800–$1,500 for a standard tank, installed. $2,000–$4,000 for tankless.
Related Guides
- How to Drain a Hot Water Heater: Step-by-Step
- How to Flush a Water Heater
- Annual Water Heater Maintenance Checklist
- How Long Do Water Heaters Last?
- Best Powered Anode Rods
- How to Test a Water Heater Element
Sources
Pros
- Cost effective options available.
- Generally easy to configure.
Cons
- Requires routine maintenance.