Water Heater Anode Rod Replacement: Step-by-Step Guide
Replace your anode rod in under an hour. This guide covers tools, rod types, and the exact process to protect your tank.
Safety Disclaimer
Water heater maintenance involves working with pressurized systems, scalding hot water, and potentially hazardous electrical or gas connections. Always shut off power (electric heaters) or gas supply (gas heaters) and allow water to cool to a safe temperature before beginning any maintenance. Wear appropriate safety equipment including gloves and eye protection. If you're uncomfortable with any step, contact a licensed plumber.
The anode rod is a $20 to $50 part that can save you from a $1,500 water heater replacement. It is also the maintenance step that almost nobody does.
I check anode rods as part of every water heater service call. About 7 out of 10 homeowners have never heard of the part. About 9 out of 10 have never inspected or replaced theirs. If you are reading this, you are already ahead of the game.
Here is everything you need to know about checking and replacing the rod that keeps your tank from rusting out.
What the Anode Rod Does
Your water heater tank is made of steel, lined on the inside with a thin layer of glass (vitreous enamel) to prevent rust. That glass lining develops micro-cracks over time from the constant thermal expansion and contraction of heating cycles. Those cracks expose bare steel to water.
The anode rod prevents the exposed steel from corroding. It is a long metal rod, usually magnesium or aluminum, suspended inside the tank from a fitting on top. Through a process called galvanic corrosion, the anode rod corrodes instead of the tank. The rod literally sacrifices itself so your tank does not rust.
When the rod is consumed and not replaced, the tank becomes the next target for corrosion. Once the tank starts rusting through, there is no repair. That is why a $25 rod replacement every few years is the single best investment you can make in your water heater.
For more background on how this works, see our anode rod explainer.
When to Replace
Check the rod every 3 years (every 2 years in hard water areas). Replace it when:
- The rod diameter is less than 1/2 inch (original is typically 3/4 inch)
- The steel core wire is exposed through the corroded metal
- The rod is heavily caked in calcium deposits
- Large sections of the rod have dissolved away
- You notice rust-colored water from the hot taps only
If your water heater is over 5 years old and you have never checked the rod, do it now. Our guide on when to replace your anode rod covers the inspection signs in more detail.
Choosing the Right Replacement Rod
Magnesium Rods
The standard choice. Magnesium is more reactive than aluminum, so it provides stronger protection. Best for:
- Soft to moderate water hardness (under 120 ppm)
- Municipal water supplies
- Homes without water softeners
Downside: Can produce a rotten egg smell (hydrogen sulfide) when it reacts with sulfate-reducing bacteria in certain water chemistries.
Aluminum-Zinc Rods
Better for challenging water. The aluminum corrodes more slowly, and the zinc component helps suppress sulfur-producing bacteria. Best for:
- Hard water (over 120 ppm)
- Well water
- Homes with a rotten egg smell from magnesium rods
- Water treated with a softener (softened water is more corrosive to magnesium)
Powered (Impressed Current) Anode Rods
These use a small electrical current (powered by a plug-in transformer) to provide corrosion protection instead of sacrificial metal. They never wear out and last the life of the heater.
Best for:
- Any water chemistry (works universally)
- Homeowners who want a permanent solution
- Homes with persistent rotten egg smell
- Situations where headroom makes rod removal difficult
A top-rated powered option is the Corro-Protec CP-R Powered Anode Rod. It installs in the existing anode port and plugs into a standard outlet. Read our full powered anode rod comparison for more options.
Tools and Materials
Gather everything before you start:
| Tool / Supply | Purpose |
|---|---|
| 1-1/16 inch socket | Fits the anode rod hex head |
| Breaker bar or long ratchet handle | Provides leverage to break the rod loose |
| Pipe wrench (optional) | Alternative to socket for stubborn rods |
| Teflon tape | Seals threads on the new rod |
| Garden hose | For partial tank drain |
| Bucket | Catches water |
| Penetrating oil (PB Blaster) | Loosens corroded threads |
| New anode rod | Replacement part |
The 1-1/16 inch socket is not a common household size. An impact socket in that size handles the high torque needed and is worth owning for future replacements.
Step-by-Step Replacement
Step 1: Turn Off Power and Water
- Electric: Flip the breaker for the water heater at your panel.
- Gas: Turn the gas control to “Pilot” or “Off.”
- Turn off the cold water supply valve on the pipe entering the top of the heater.
Step 2: Release Pressure
Open a hot water faucet somewhere in the house to relieve pressure inside the tank. You can also lift the T&P relief valve lever briefly.
Step 3: Drain a Few Gallons
Connect a garden hose to the drain valve and drain 3 to 5 gallons. You do not need to empty the entire tank. Just get the water level below the anode port. This reduces the weight on the rod and prevents a geyser when you pull it out.
Step 4: Locate the Anode Rod Port
The anode rod port is a hex-head fitting on top of the water heater. On most models, it is a separate fitting on the top surface. On some units, the anode rod is integrated into the hot water outlet (known as a combo anode). Check your owner’s manual if you cannot find a standalone hex head.
If your tank is in a closet with limited headroom, measure the clearance. Standard anode rods are 33 to 44 inches long. If you have less than 44 inches above the tank, you will need a flexible or segmented anode rod.
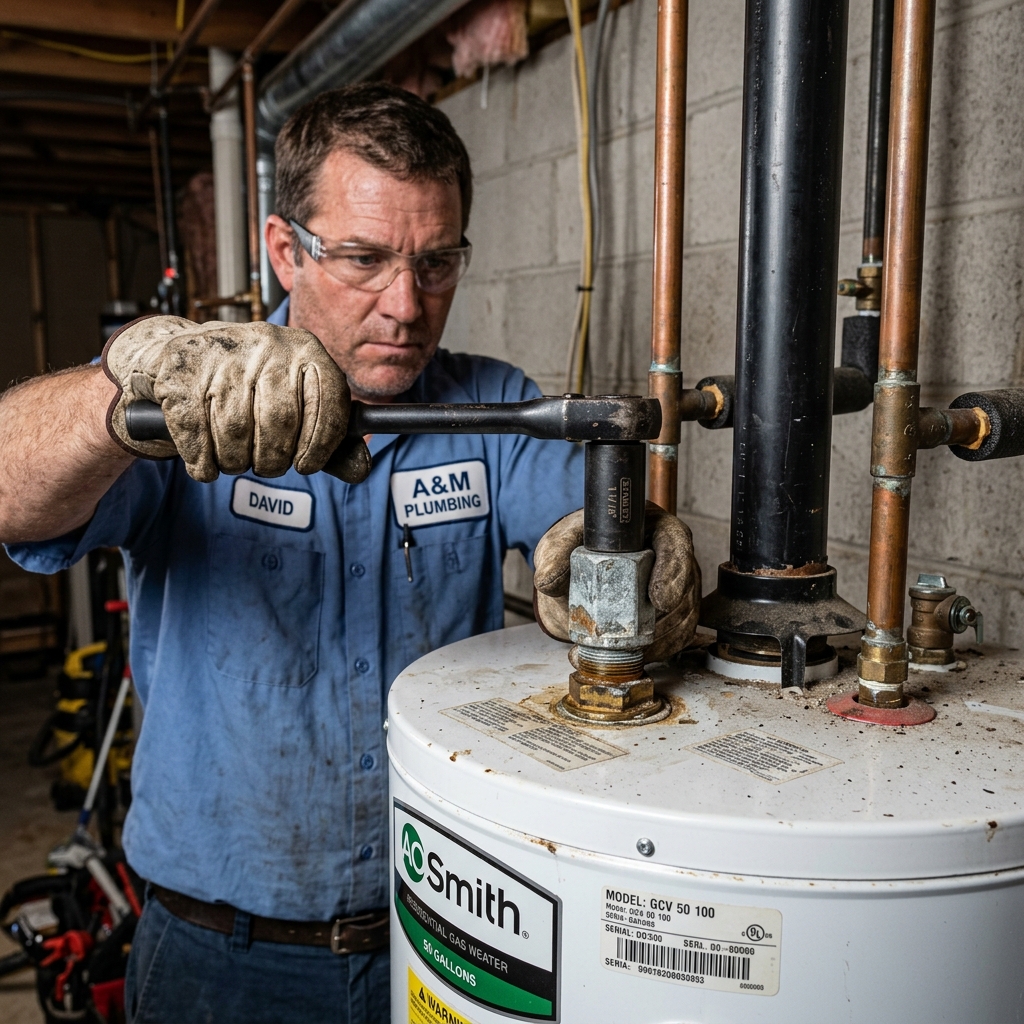
Step 5: Break the Old Rod Loose
Apply penetrating oil around the base of the hex head and let it soak for 10 minutes. Position your socket and breaker bar on the hex head. You will need significant force. The factory installs these with power tools and thread sealant.
Tips for stuck rods:
- Have someone hold the water heater steady while you apply force. The tank can rotate on smooth floors.
- Use a cheater pipe on the breaker bar for more leverage
- Turn counterclockwise to loosen
Step 6: Remove the Old Rod
Once loose, unthread the rod by hand and pull it straight up. Inspect it:
- Mostly intact with light corrosion: Still has life. Reinstall and check again in 2 years.
- Reduced to less than 1/2 inch diameter: Replace now.
- Core wire visible or rod is fragmented: Overdue for replacement. Check the tank interior for rust damage.
Step 7: Install the New Rod
Wrap the threads of the new rod with 4 to 6 wraps of Teflon tape. Insert the rod into the port and thread it in by hand. Tighten with the socket. You want it firm and snug, but do not use your full breaker-bar force. The fitting should compress the Teflon tape and seal without stripping the tank threads.
Step 8: Restore Water and Power
- Close the drain valve if you opened it.
- Turn on the cold water supply.
- Open a hot faucet and let it run until a steady stream flows with no air sputtering.
- Check the anode rod port for leaks. Tighten slightly if needed.
- Restore power (flip the breaker or turn the gas valve to your desired setting).
Troubleshooting Common Problems
The rod will not budge
Corrosion has bonded it to the tank. Apply more penetrating oil. Let it soak for an hour. Try an impact wrench if you have one. As a last resort, use a pipe wrench on the hex head, but be aware this can round the head if the wrench slips.
Not enough headroom to pull the rod out
Buy a flexible anode rod. These have segments connected by short cables or links, allowing them to bend as you extract and insert them. They cost slightly more but solve the clearance problem.
Rotten egg smell after installation
If you installed a magnesium rod and notice a sulfur smell, your water has sulfate-reducing bacteria that react with the magnesium. Flush the tank with a bleach solution (2 pints of 3% hydrogen peroxide per 40 gallons), then switch to an aluminum-zinc rod or a powered rod.
Rod is integrated with the hot water outlet
Some manufacturers build the anode into the hot water outlet nipple. Replacing it requires disconnecting the hot water line. The process is the same, but you also need to reseal the water line connection when you are done.
Related Guides
- When to Replace Your Anode Rod, Detailed inspection guide
- Best Powered Anode Rods, Top picks for permanent protection
- How to Drain a Hot Water Heater, Full draining guide
- How Long Do Water Heaters Last?, Why anode rods matter for lifespan
- Signs Your Water Heater Needs Flushing, Other maintenance indicators
Sources
- Rheem Water Heater Maintenance Guide, Anode rod specifications and replacement intervals
- A.O. Smith Owner’s Manual, Anode rod types and installation procedures
- International Association of Certified Home Inspectors, Corrosion protection best practices